Last updated November 17, 2026







Free written scope consultation - allowances, timeline, and change-order rules on paper before a single trade is scheduled
Bathroom Remodeling Troubleshooting: Common Problems and How to Fix Them
Tile cracking six months after a remodel almost never means bad tile. In our experience, it usually means the wrong substrate underneath, or a waterproofing layer that was skipped and the homeowner had no way to see it once the walls closed up. That’s the frustrating part of bathroom remodeling: the problems that cost the most are the ones you can’t inspect during construction. In Mesquite, where summer heat and dry air push building materials hard, those hidden failures surface faster than most homeowners expect.
This guide teaches you how to read the symptoms, figure out which failure point you’re dealing with, and understand your options before you call anyone. Problems cluster around four predictable places: the substrate under the tile, the waterproofing, the ventilation, and the drain slope. Learn those four and a panic moment becomes a manageable decision.
Whether you’re troubleshooting a finished project or planning one and want to know what to watch for, Bathroom Remodeling in Mesquite walks through how a properly built bathroom is assembled so you know what “right” looks like.
Quick Answer
Most bathroom remodel problems trace back to four failure points: cracked tile from a failing substrate or skipped waterproofing, mold from ventilation that was installed but routes air poorly, standing water from a drain slope that’s slightly off, and grout that fails because it was installed over a moving surface. Diagnose the symptom first, then match it to the failure point. If the cause is a construction defect, a written pre-project price and a written guarantee are what protect you. If it’s normal wear, it’s often a repair, not a rebuild.
Styles & brands we work with
- Kitchen remodeling
- Bathroom remodeling
- Home additions & ADU
- Roofing
- Windows & doors
- Driveway & pavers
- Fence
Table of Contents
- Why Is My Tile Cracking or Loose After a Remodel?
- How Do You Tell Substrate Failure From Grout Failure?
- The Waterproofing Gap: Why Failures Show Up Months Later
- Ventilation That Was Installed but Doesn’t Work
- Drain and Slope Troubleshooting: Standing Water
- What Documentation Do You Need for a Warranty Claim?
- How a Written Pre-Project Price Protects You
- Common Mistakes to Avoid
Why Is My Tile Cracking or Loose After a Remodel?
Cracked or loose tile after a bathroom remodel usually traces to one of three things: a substrate that flexes under the tile, a waterproofing layer that failed or was never installed, or a tile that was set with the wrong thinset or too little coverage. The crack pattern tells you which.
Here’s how to read it:
- Cracks that follow the grout lines and spread into the tile field usually mean movement underneath. The floor or wall is flexing, and the tile is absorbing it.
- Cracks that appear at the edge of the shower or where two surfaces meet often mean a missing movement joint. Tile and grout need a gap at transitions, and a rigid fill there will crack.
- Hollow-sounding tiles that aren’t cracked yet are a coverage problem. Tap them gently with a screwdriver handle. A dull thud versus a sharp tap tells you whether the thinset bonded.
- Tiles lifting at the corner or edge point to moisture getting behind and swelling the substrate, common in showers where waterproofing was skipped.
In Mesquite, we see tile problems early because the dry heat and temperature swings stress the bond more than in humid climates. A bathroom on an exterior wall with a big sun exposure can move just enough over a summer to crack grout that was installed tight.
The good news: a single cracked tile is usually a targeted repair. Widespread cracking across a floor means the substrate is the story, and that’s bigger. That’s the difference between a $180 tile repair and a floor rebuild, so reading the pattern correctly before you call anyone saves you money.
How Do You Tell Substrate Failure From Grout Failure?
Grout failure is a surface problem; substrate failure is structural. Grout failing looks like hairline cracks, crumbling joints, or grout that washes out in the shower. Substrate failure looks like tiles that are loose, hollow, or moving underfoot, or cracks that reappear after you re-grout.
The reliable test is this: if you re-grout and the crack comes back within a few months, the substrate is moving. Grout can’t fix a moving floor. That’s the single most useful diagnostic in bathroom troubleshooting, and it’s the one most homeowners skip.
Here’s the sequence to run:
- Tap the tile fields. A sharp, solid tap is good. A hollow thud means the bond is broken or never formed.
- Press on the tile. Any give at all is substrate movement, not grout.
- Look at the crack direction. Cracks aligned with grout lines and repeating across multiple tiles indicate the base.
- Check the transitions. Cracks at the shower curb or where tile meets drywall point to a missing movement joint.
- Re-grout one test area. If the crack returns quickly, that confirms movement.
Who’s responsible depends on the cause. A manufacturer defect in the tile is rare and usually covered by the tile maker. Installation error, meaning wrong substrate or too little thinset coverage, is a contractor issue and should be covered by a written workmanship guarantee. Normal aging after a decade is nobody’s fault and falls to the homeowner.
This is why the pre-project paperwork matters so much. A written price that specifies what substrate and what setting method was used gives you a paper trail if a failure appears. That’s part of how we build at Mason Remodeling – see the General Contractor in Mesquite page for how we document the scope before work starts.
The Waterproofing Gap: Why Failures Show Up Months Later
Waterproofing failures almost never show up on day one. They show up three to nine months after the remodel, when moisture has worked its way through the assembly and found the wood, the drywall, or the framing behind the tile. That delay is why the problem is so costly: the visible damage is just the last thing to appear.
What you’re looking for:
- Soft or discolored drywall on the wall behind the shower. If the drywall is soft, water is behind the tile.
- Mold at the base of the shower or on the caulk seam that keeps coming back after cleaning.
- A musty smell in a bathroom that was just remodeled. There should be none.
- Loose tile or a hollow sound in the shower floor, where a failed waterproofing membrane lets water sit under the tile.
- Efflorescence: white, powdery mineral staining at grout lines. That’s moisture moving through and leaving salt behind.
The waterproofing layer is the part you can’t see once the tile goes on. In a proper bathroom, a waterproofing membrane, often a liquid-applied coating or a sheet membrane such as a Schluter system, goes on before the tile. If it was skipped or applied thin at a corner, the failure shows up later. In Mesquite, dry air pulls moisture out of the surface fast, which can actually hide a leak: the top of the shower looks dry while the framing behind it is wet.
What documentation you need to pursue a claim: your written contract and scope, the photos taken during construction if the contractor provided them, the material list, and the dates of completion. If you don’t have those, ask the contractor for the project file. A legitimate operation keeps one, and the written guarantee on the project is what you point to.
Ventilation That Was Installed but Doesn’t Work
A bathroom exhaust fan that doesn’t actually move air is one of the most common retrofit problems we run into. The fan is installed, the light comes on, it makes noise. But the duct behind it is pinched, kinked, or running too far to vent properly. The fan is running, and the moisture isn’t going anywhere.
Common duct routing errors in a remodel:
- Flexible duct crushed into a tight bend behind the fan. Every sharp bend cuts airflow measurably.
- Duct terminating in the attic instead of venting outside. Moist air in the attic is worse than no fan at all.
- Duct too long for the fan rating. Most residential fans are rated for a specific run and size; exceeding it means the fan moves far less air than the label says.
- Backdraft damper stuck or missing, which lets outside air and humidity back into the bathroom.
- Fan sized wrong for the bathroom’s volume. A small fan in a large bathroom won’t clear humidity no matter how well it’s ducted.
The simple test: hold a piece of tissue against the fan grille when it’s running. If the tissue won’t stay, the airflow is too low. The fix could be as small as a duct routing correction or as large as replacing the fan and re-running the duct. Either way, it’s worth diagnosing because poor ventilation is the single most common cause of mold we see in bathrooms.
Drain and Slope Troubleshooting: Standing Water
Standing water in a shower or a floor that pools and doesn’t fully drain is a slope problem, not a drain-clog problem, if the water sits and doesn’t flow. The distinction matters because a fixable slope error is a small correction and a badly built shower pan is a full re-demo. Here’s how to tell them apart.
Start with the drain itself:
- Remove the drain cover and check for hair or soap buildup. A clogged drain flows slowly but the water still sits flat.
- Pour a cup of water and watch it. If it flows immediately but leaves a film of water behind, it’s slope.
- Look at where the water pools. If it pools uniformly around the drain, the pan slope is shallow. If it pools in a corner or along one wall, the tile was set with a bow or the pan wasn’t graded correctly.
- Check the level of the floor. A simple spirit level on the shower floor will show you whether it drains toward the drain.
- Look at the threshold. Water that escapes past the curb is a curb or slope build issue, not a drain issue.
A shower pan needs a quarter-inch of fall per foot toward the drain, and that’s the standard a proper build should hold to. If water pools more than a thin film, the pan wasn’t graded right, and correcting it means removing the tile and possibly the pan itself. That’s a full re-demo. A small film that dries within an hour of the last shower is usually a minor slope issue that can be corrected at the drain ring.
This is where diagnosing before you call is worth real money. If a plumber shows up and says “new drain,” you want to know that the cause is slope, not the drain fitting.
What Documentation Do You Need for a Warranty Claim?
To pursue a warranty claim on a bathroom remodel, you need the written contract and scope, the written guarantee with its coverage terms, before-and-after photos or progress photos, the material and product list, and the completion date. Without those, you’re relying on memory and a handshake, which is why the written paperwork is the real protection.
What a strong guarantee should state plainly:
- What’s covered (workmanship, installation, materials) and what’s excluded (damage from misuse, normal wear, acts of nature).
- For how long. “365 days from the completion date” is a real term; “backed by our guarantee” is not.
- How to file a claim and who responds.
- What happens if work fails inside that window, including a free return visit rather than a dispute process.
The documentation also matters if a troubleshooting visit reveals work that should have been done right the first time. That’s not a new project; it’s a correction, and the written scope tells you which. At Mason Remodeling, every project is covered by a written guarantee with clearly stated terms, and a free return visit is provided at no charge if a repair or installation fails. The Mason Remodeling Mesquite home page lays out those terms in plain language.
How a Written Pre-Project Price Protects You
A written price before any work starts is the single best protection against a troubleshooting surprise. When a failure shows up and the investigation reveals that the substrate should have been upgraded or a waterproofing layer should have been in the original scope, you can point to the written scope and the written price. Without it, the conversation becomes “we discussed that verbally,” and you lose.
What a written price should include:
- Line-item breakdown of materials and labor, not a single lump sum.
- The substrate and waterproofing method specified in plain terms, so you know what’s behind the tile.
- The guarantee terms, with coverage and duration stated.
- No change-order surprises: the price is fixed, and any change is documented before it happens.
This is where our approach differs. We deliver a written price on every project before any work starts, every time. No surprise invoices, and no verbal estimates that grow on the final bill. When troubleshooting turns up something that should have been handled correctly at the start, the written scope and guarantee do the talking, not a phone call.
Common Mistakes to Avoid
- Re-grouting a moving floor. If the crack returns within a few months, the substrate is the problem, and no amount of fresh grout fixes it. That’s money spent twice.
- Assuming a new exhaust fan solves ventilation. In Mesquite retrofit remodels, the duct is usually the problem, not the fan. Check the routing before you buy a bigger fan.
- Ignoring a thin film of standing water. A shower pan that doesn’t drain fully is a slope issue that gets worse. A small correction early is far cheaper than a re-demo later.
- Skipping the photos during construction. Photos of the substrate and waterproofing before tile go on are the documentation you’ll want if a failure appears months later.
- Accepting a verbal estimate. A price that isn’t written down has no scope to hold a contractor to when troubleshooting reveals a defect.
- Letting a bathroom sit with a musty smell. That smell is moisture finding a surface, and it’s the earliest warning sign of a waterproofing problem.
- Assuming dry climate means no moisture risk. In Mesquite, the dry air hides the top layer of a leak while the framing behind it stays wet, so the failure is already further along when you find it.
See the difference
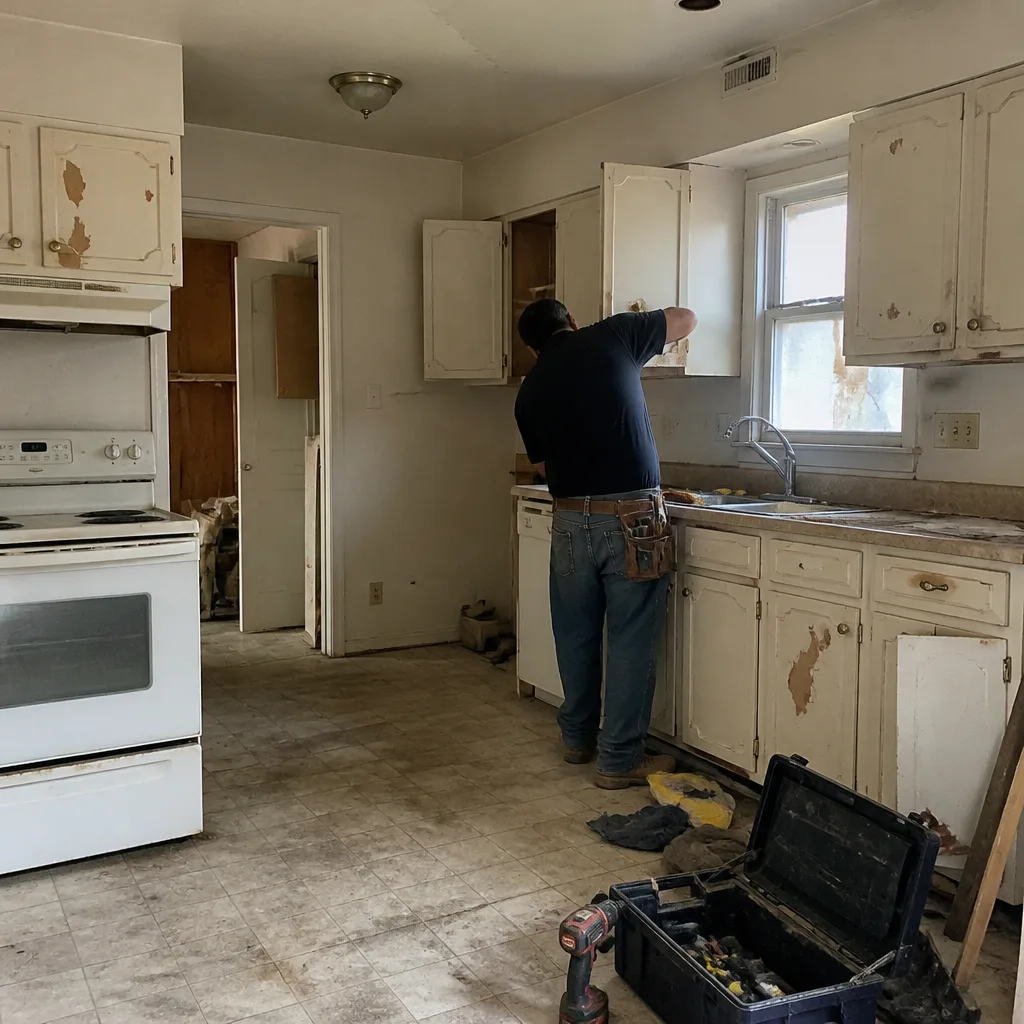 Before
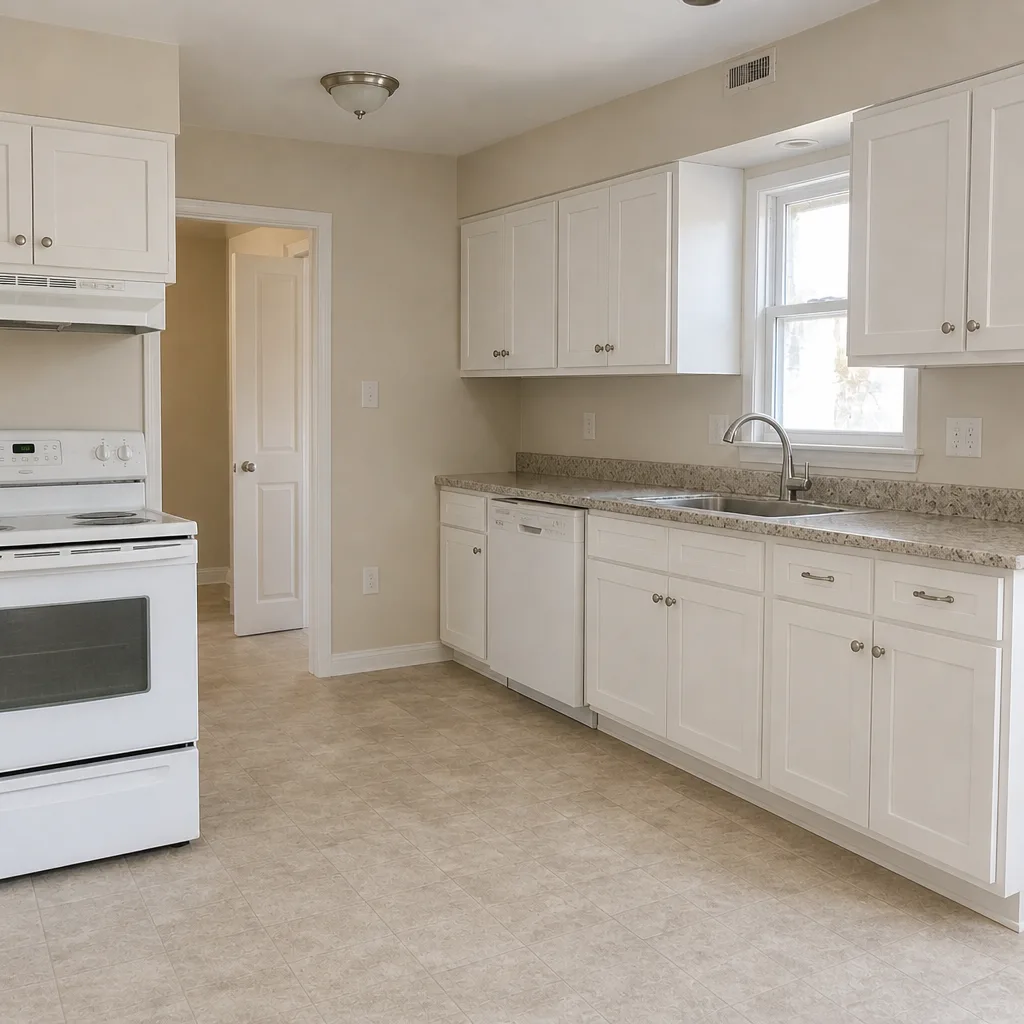 After
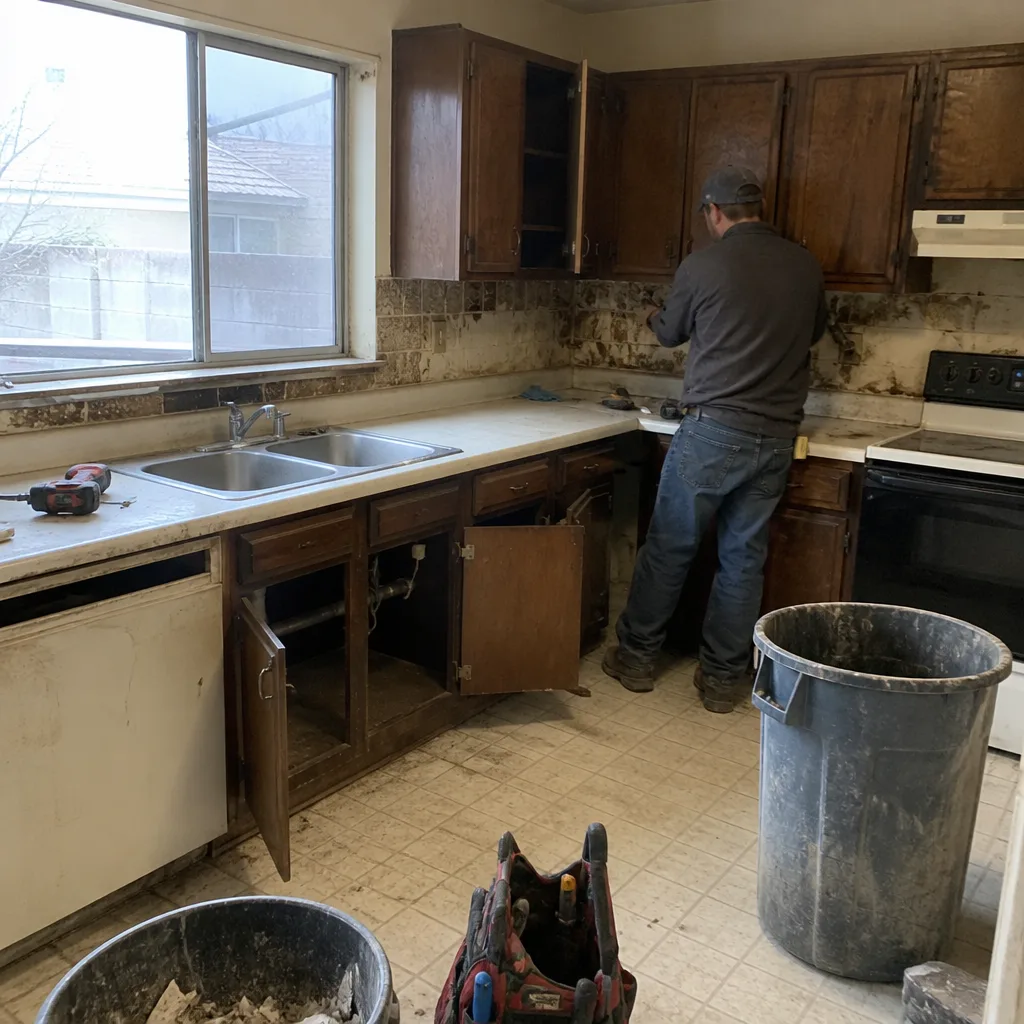 Before
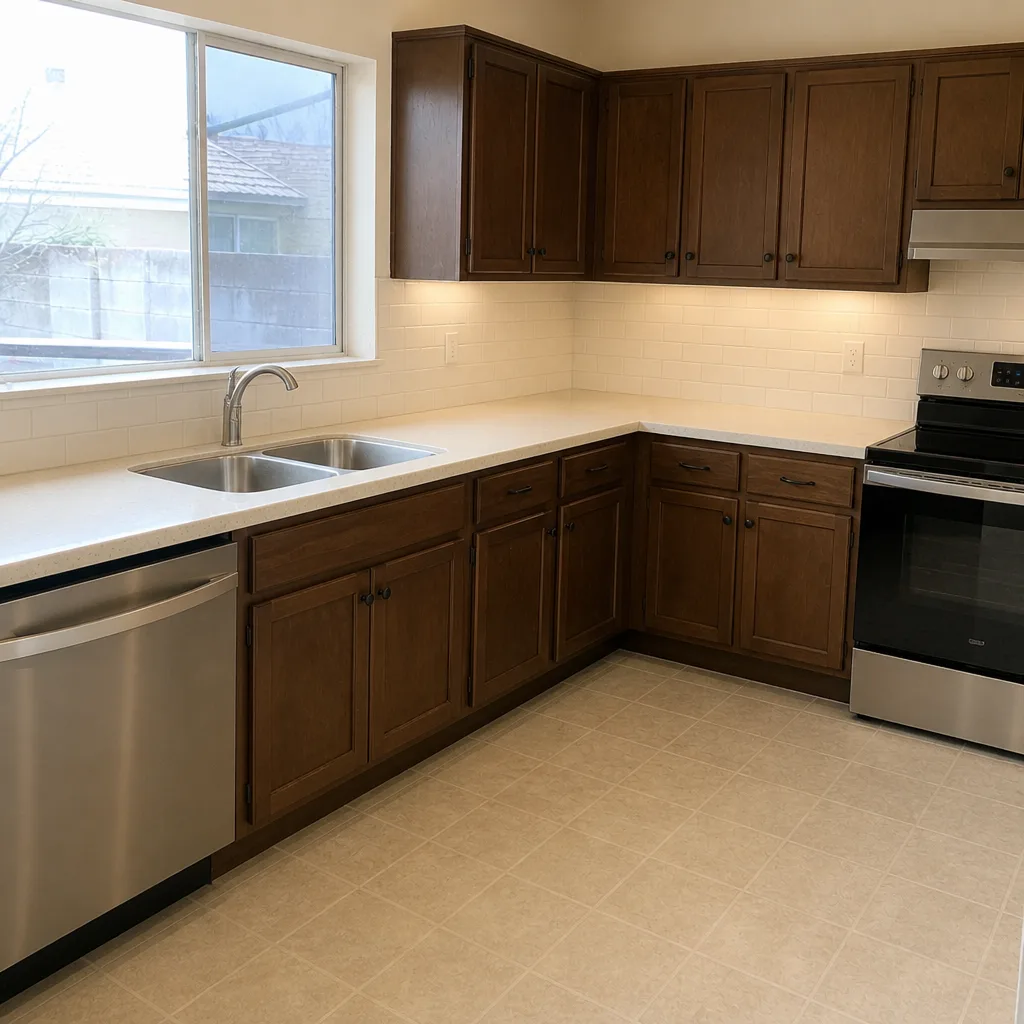 After
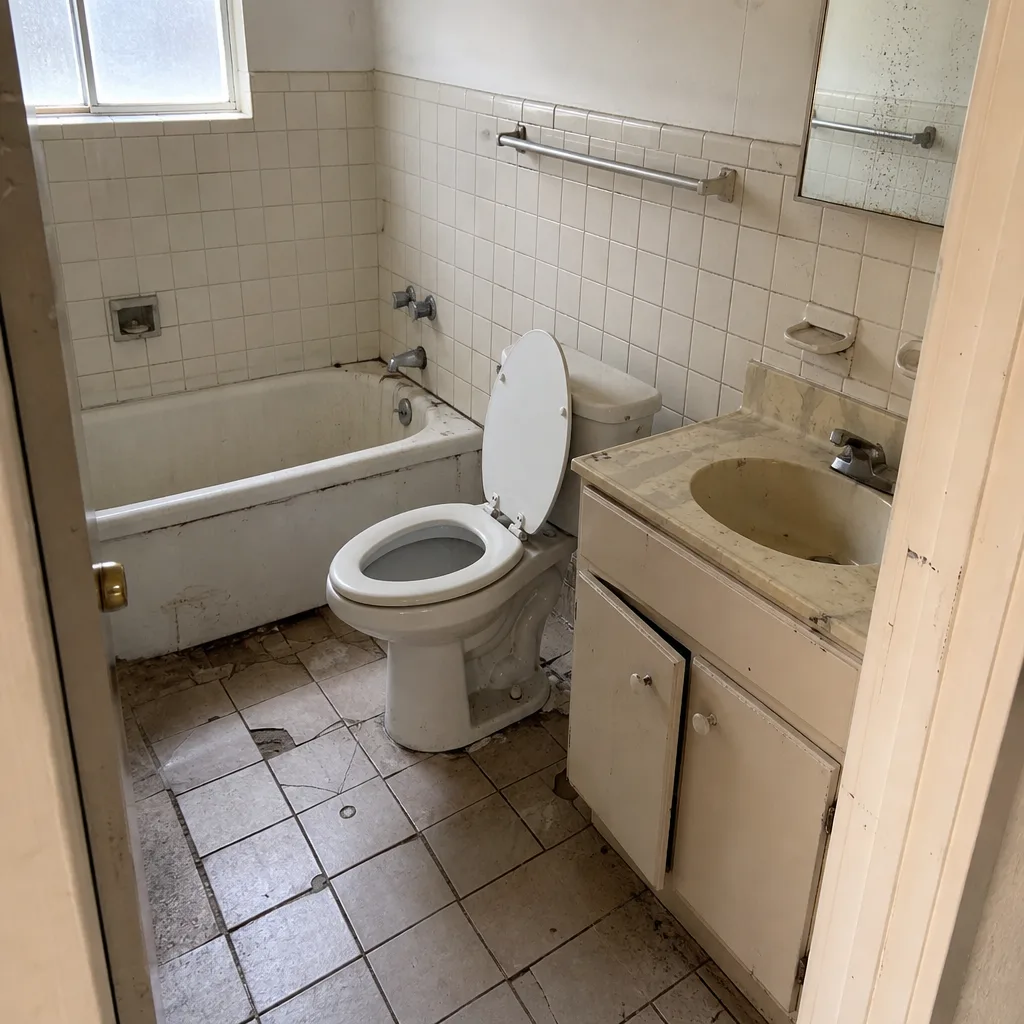 Before
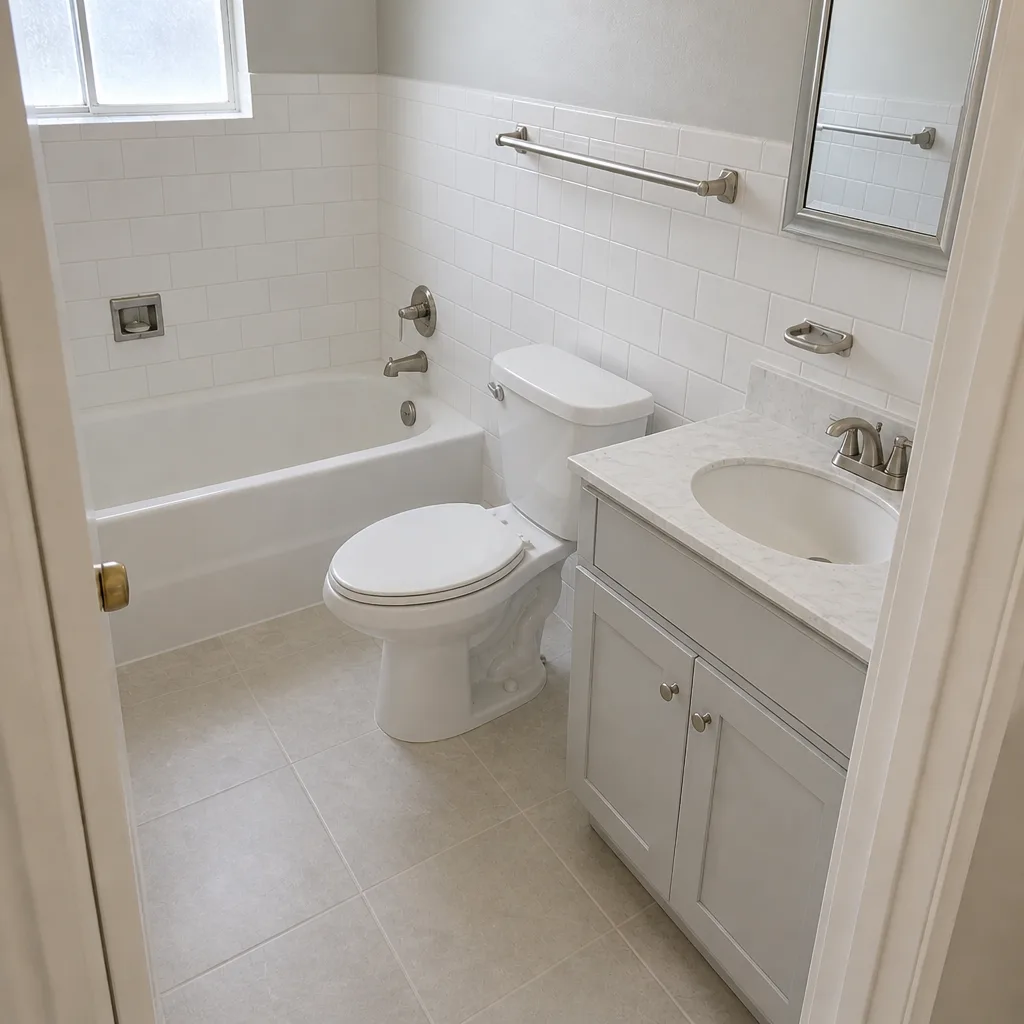 After
When to Call a Professional
Call a professional when you find any of these: a tile field that sounds hollow over a large area, water pooling that doesn’t dry within an hour of a shower, a musty smell in a bathroom that was remodeled within the last year, or a wall behind the shower that’s soft or discolored. Those are signs the failure is behind the surface, and the fix requires opening it up. Also call if you have a written guarantee and a failure inside the coverage window; that’s exactly what the guarantee is for.
Mason Remodeling Mesquite offers free estimates in Mesquite. Every project starts with a written price before any work begins, every crew member is background-checked and identity-verified through The Threshold Standard, and you’ll receive the technician’s name and photo before the visit, plus a photo ID badge at the door. Call (844) 797-3609 for a free estimate.
Frequently Asked Questions
A single cracked or loose tile repair typically runs $180 to $340 in the Mesquite market, depending on access and matching. Widespread cracking that points to substrate failure is a different job and starts around $1,800 to $3,500 for a floor rebuild. Call (844) 797-3609 for an exact quote; estimates are free.
No. When we deliver a written price before work starts, that price is fixed for the scope in writing, and any change is documented before it happens. If the investigation reveals work that should have been done right the first time, that’s a guarantee conversation, not a new invoice.
Because the failure points are behind the surface: the substrate, the waterproofing, the duct, or the slope. Those take time to show. In Mesquite, the dry air can dry out the top of the shower while the moisture sits behind the tile, so the damage is already further along by the time the symptom appears.
Yes. Permits are pulled and the work is inspected to code on projects that require them, and that documentation is part of your project file. It’s what protects you if a question comes up later about how the bathroom was built.
A single tile or grout repair is usually a one-day visit. A floor or shower rebuild that involves opening the substrate is typically one to two weeks, depending on materials and drying time. The written scope tells you the timeline before anyone starts, so there’s no guessing.
You’ll receive the technician’s name and photo before the visit, and they’ll arrive in a clean marked uniform with a photo ID badge shown at the door. Every crew member is background-checked and identity-verified through The Threshold Standard before they reach your door.
The Bottom Line
Bathroom remodel problems cluster around four predictable failure points: the substrate under the tile, the waterproofing behind it, the ventilation duct, and the drain slope. Learn to read the symptoms and you can tell a fixable repair from a full re-demo before you spend a dollar on the wrong call. Run the tap test and the tissue test first, check your written scope and guarantee next, and document what you find. If you’re in Mesquite and you want an expert to look at it before you commit, call (844) 797-3609 for a free estimate. The written price and the written guarantee are what turn a failure into a corrected project rather than a dispute.
For related projects, see Kitchen Remodeling in Mesquite and our guide to the trades we bring together under one roof.
Written by the team at Mason Remodeling Mesquite.